Connecting GitHub to Your Application
Plexicus connects to github.com through a GitHub App: a browser OAuth redirect followed by installing the app on the account or organisation that owns your repositories. GitHub Enterprise Server is connected differently — see GitHub Enterprise Server below.
Before your users can click Connect, the deployment needs a GitHub App of
your own, registered with two callback URLs — one on your Plexicus domain
and one on its api. subdomain. The exact URLs, permissions and chart values
are in the
SCM Connection Reference → GitHub.
On Plexicus SaaS this is already done for you.
Follow these steps to connect your GitHub account:
1. Open Settings › Integrations
- Log in to your account
- In the left sidebar, click Settings, then Integrations
- Select the SCM category
- Click Configure on the GitHub card
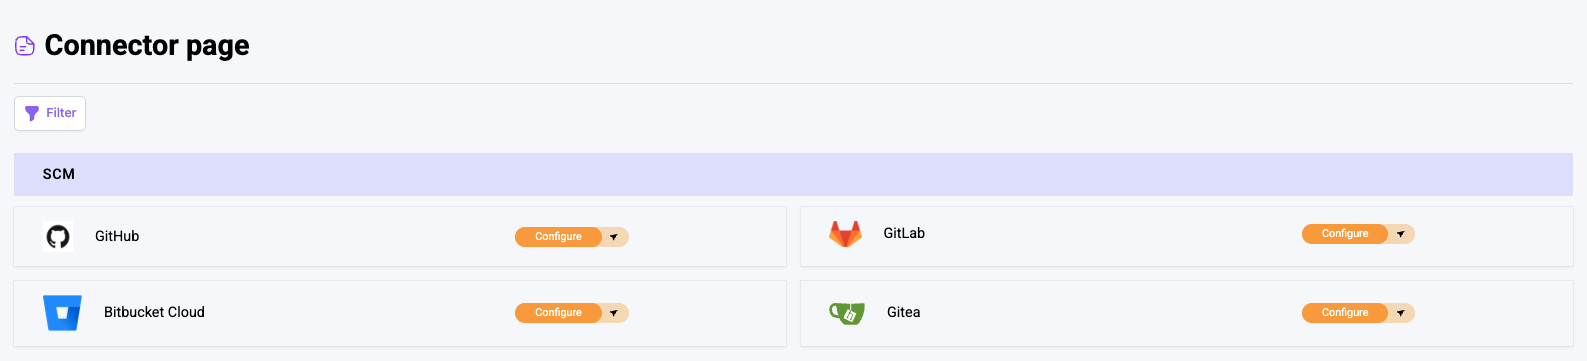
2. Initiate the Connection
- Under Choose your GitHub instance type, keep GitHub.com selected (for a self-managed instance, see GitHub Enterprise Server)
- Click Connect
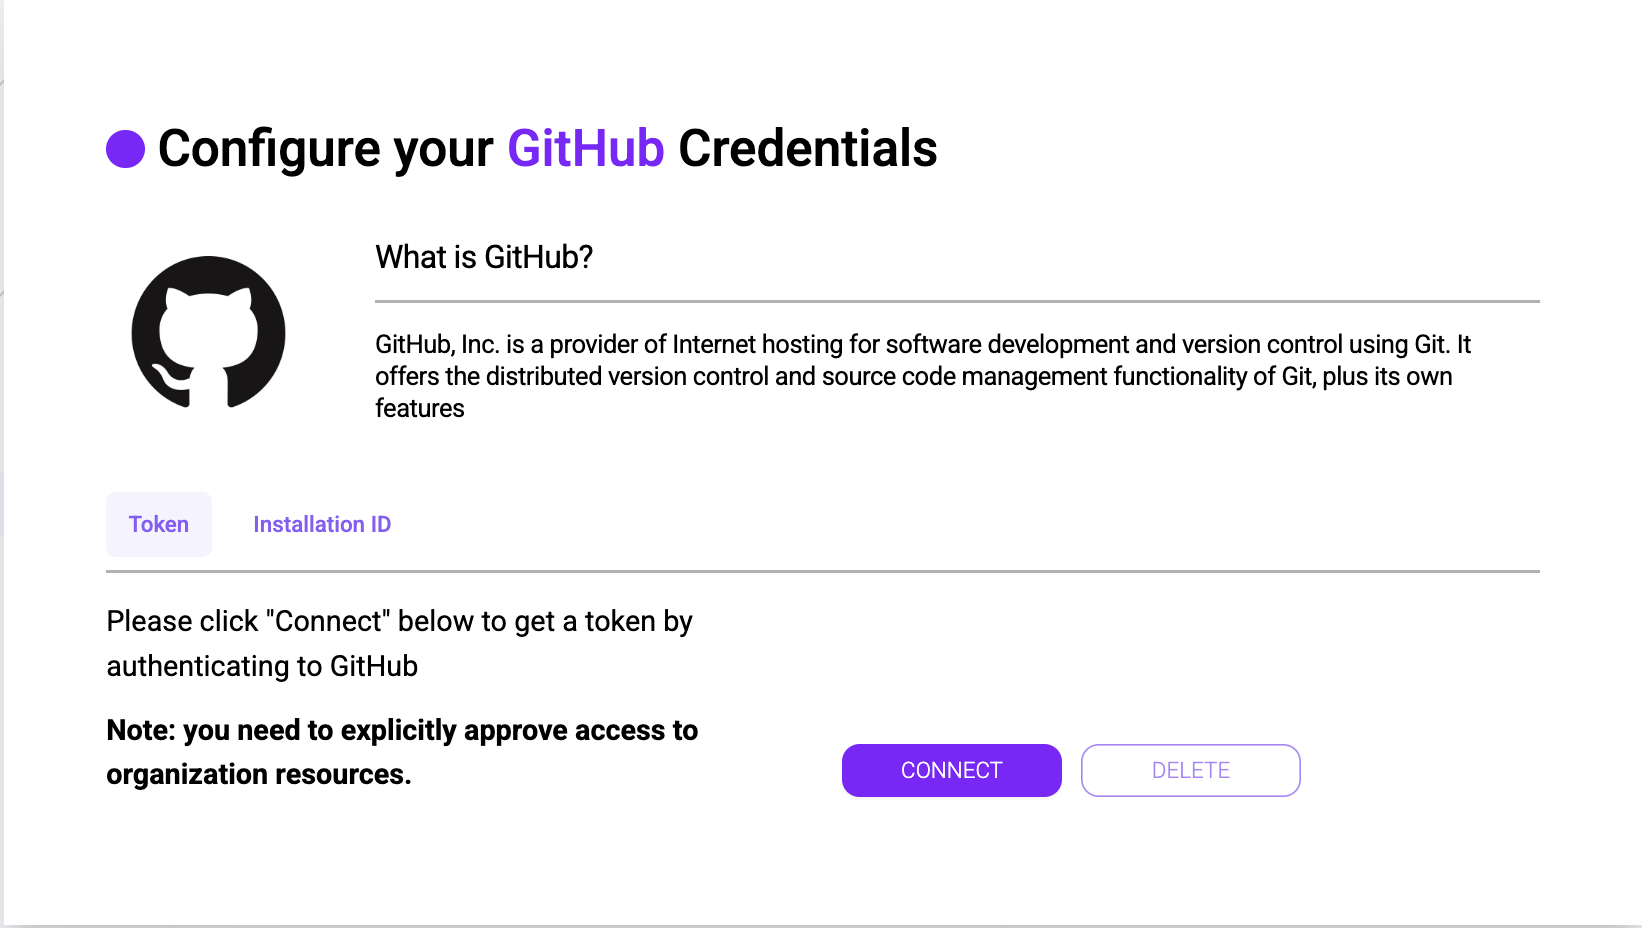
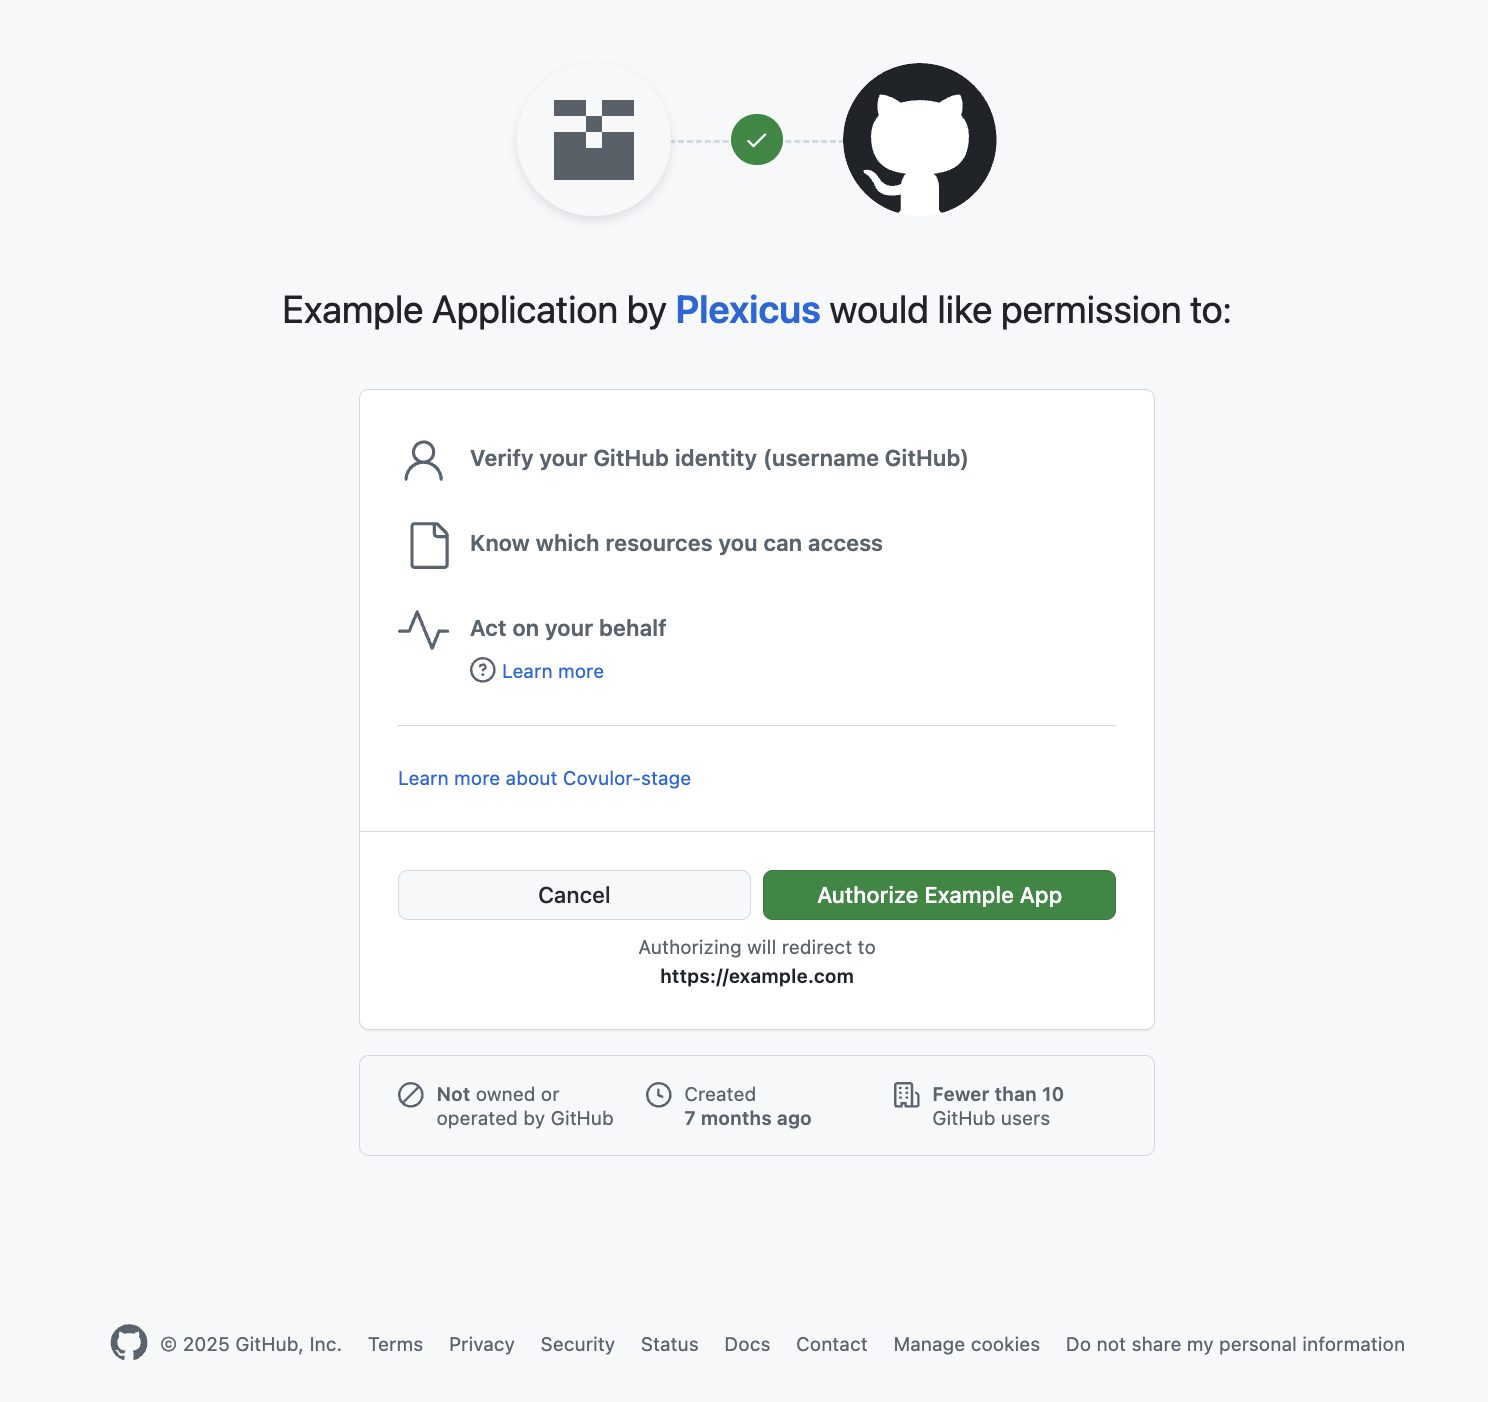
3. Authorize GitHub Access
- Wait for the authorization process to complete
- Grant necessary permissions for Plexicus to access your GitHub account
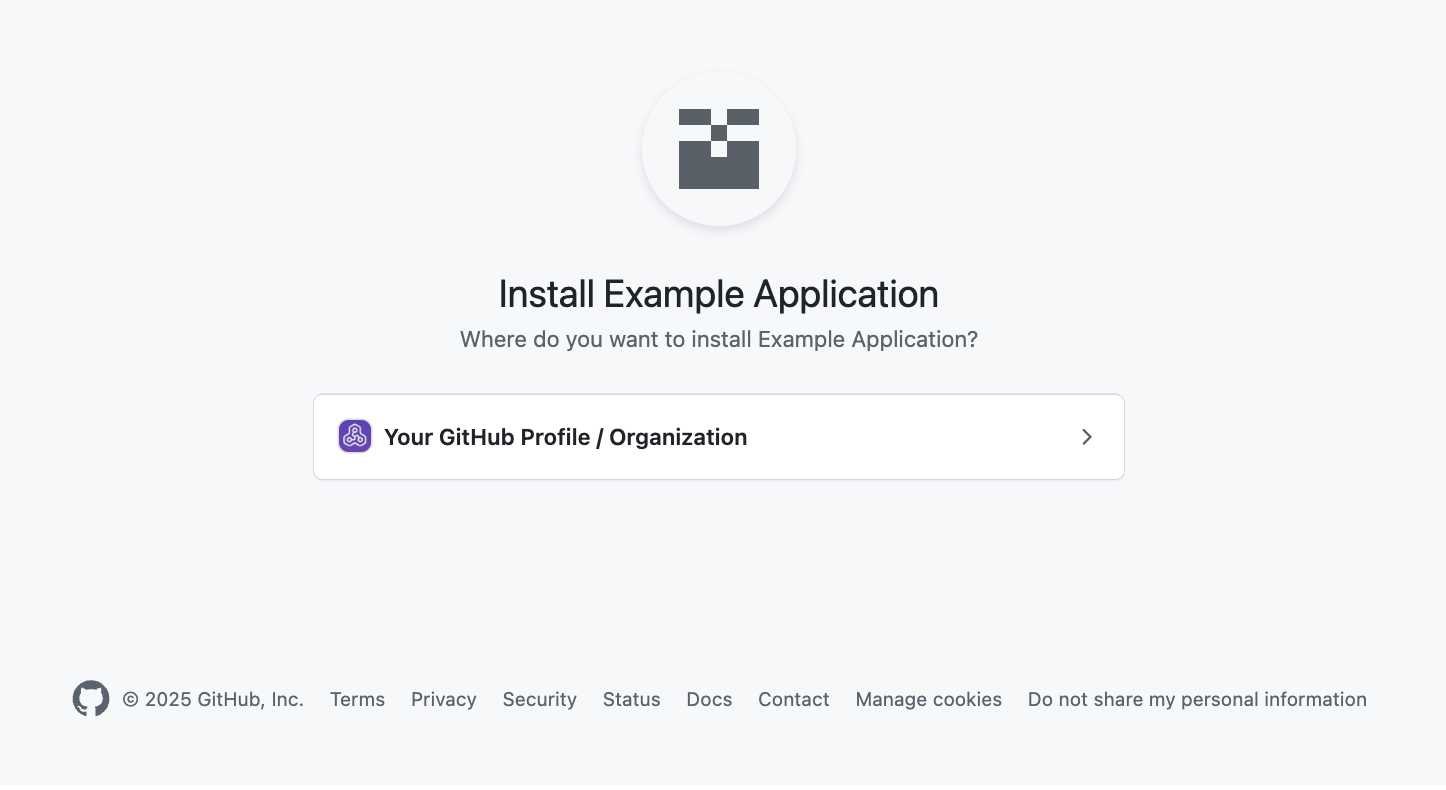
4. Install Plexicus Application
- The Plexicus application will be installed on your GitHub account
- Select the repositories you want to use with Plexicus
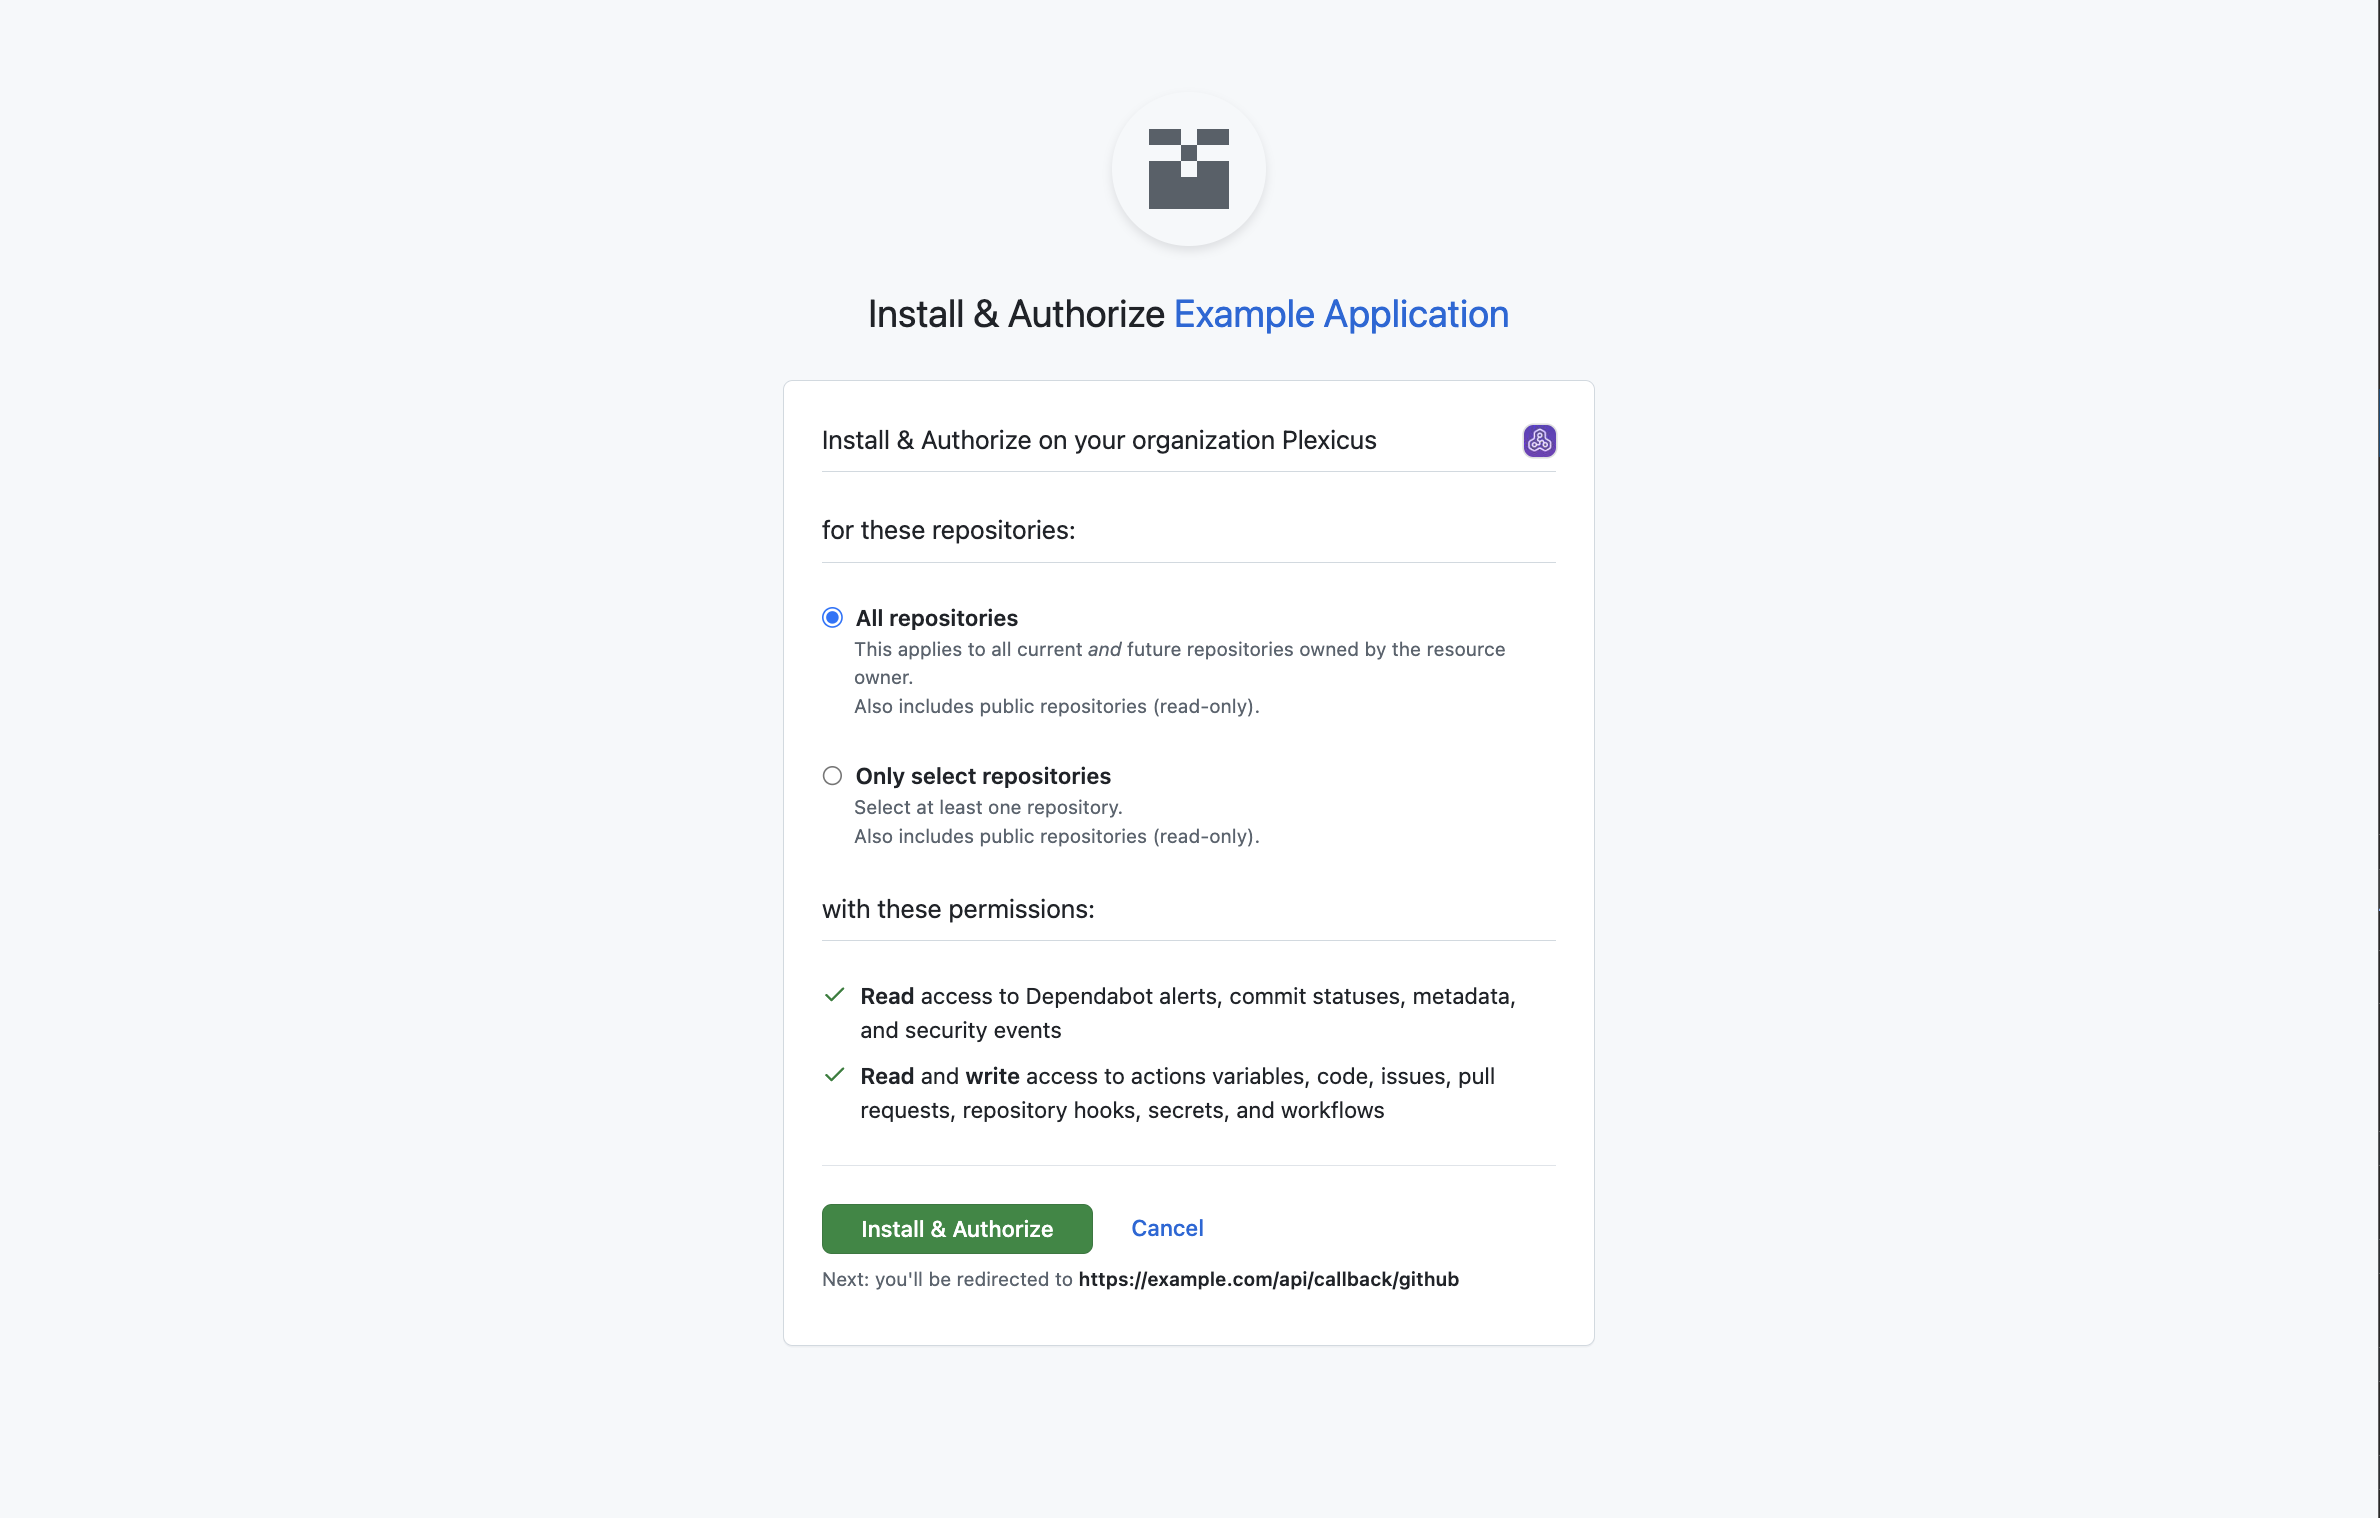
5. Finalize the Connection
- You are redirected back to Plexicus
- The GitHub panel shows Account Connected with your GitHub profile and the message "GitHub connector is configured. You can check your repositories now!"
GitHub Enterprise Server
A self-managed GitHub Enterprise Server instance is connected per connection, with credentials that belong to that instance. On the GitHub connector card, choose GitHub Enterprise Server and provide:
- GitHub Enterprise URL — e.g.
https://ghe.corp.local - Exactly one of these credential sets; Plexicus detects which mode you meant:
| Mode | Fields | Browser redirect? | Register a callback URL? |
|---|---|---|---|
| Personal access token | PAT (ghp_… or github_pat_…) | No | No |
| OAuth App | Client ID + Client Secret | Yes | Yes — https://<your-plexicus-domain>/api/callback/github |
| GitHub App | App ID + private key (PEM) | No | No |
Only the OAuth App mode leaves Plexicus: it sends you to
https://<your-ghes-host>/login/oauth/authorize and returns to your Plexicus
domain. So that callback URL — the one your users log in on, with no api.
prefix — is what you register on the OAuth App you create inside GHES.
Plexicus reads a GHES instance through <your-ghes-url>/api/v3 (REST) and
<your-ghes-url>/api/graphql (GraphQL); both must be reachable from wherever
Plexicus runs.
Run scans from GitHub Actions
The official action, plexicus/plexicus-action, runs the Plexalyzer scanner in your GitHub workflow and reports findings on the pull request. It authenticates with the organization's CI/CD scanner token (also called the Plexalyzer token).
- In Plexicus, open Settings → API Tokens and copy the token from the CI/CD scanner token section.
- In GitHub, open the repository Settings → Secrets and variables → Actions and add a repository secret named
PLEXALYZER_TOKENwith that value. - Add a repository variable
COVULOR_REPO_ID(orCOVULOR_REPO_ID_DEVon a non-main workflow branch) with your repository ID from the Plexicus dashboard, as described in the action's README. The generated workflow reads that name (plugins/Plugin.py). - Pass the secret to the action input
plexalyzer-token, together withrepo-id,repo-name,branch,url,pr-idandworkspace-path, as shown in the action's README.
When Plexicus opens the workflow pull request for a repository, it creates the secret and variable for you, so steps 2 and 3 are only needed for a workflow you wrote yourself.
Never commit the token. Keep it only as a GitHub Actions secret. This token is different from personal API tokens, which are for scripts and the MCP server.
Next Steps
You can now scan repositories from GitHub: open Repo Scan in the left sidebar and click Add Repository. See Add repositories to scan.
