Generate Client ID and Secret in GitLab Self-Hosted
Follow these steps to create an OAuth application in GitLab Self-Hosted and obtain the Client ID and Client Secret.
1. Register an OAuth Application
-
Log in to your GitLab Self-Hosted instance.
-
Navigate to Admin Area → Applications (
/admin/applications),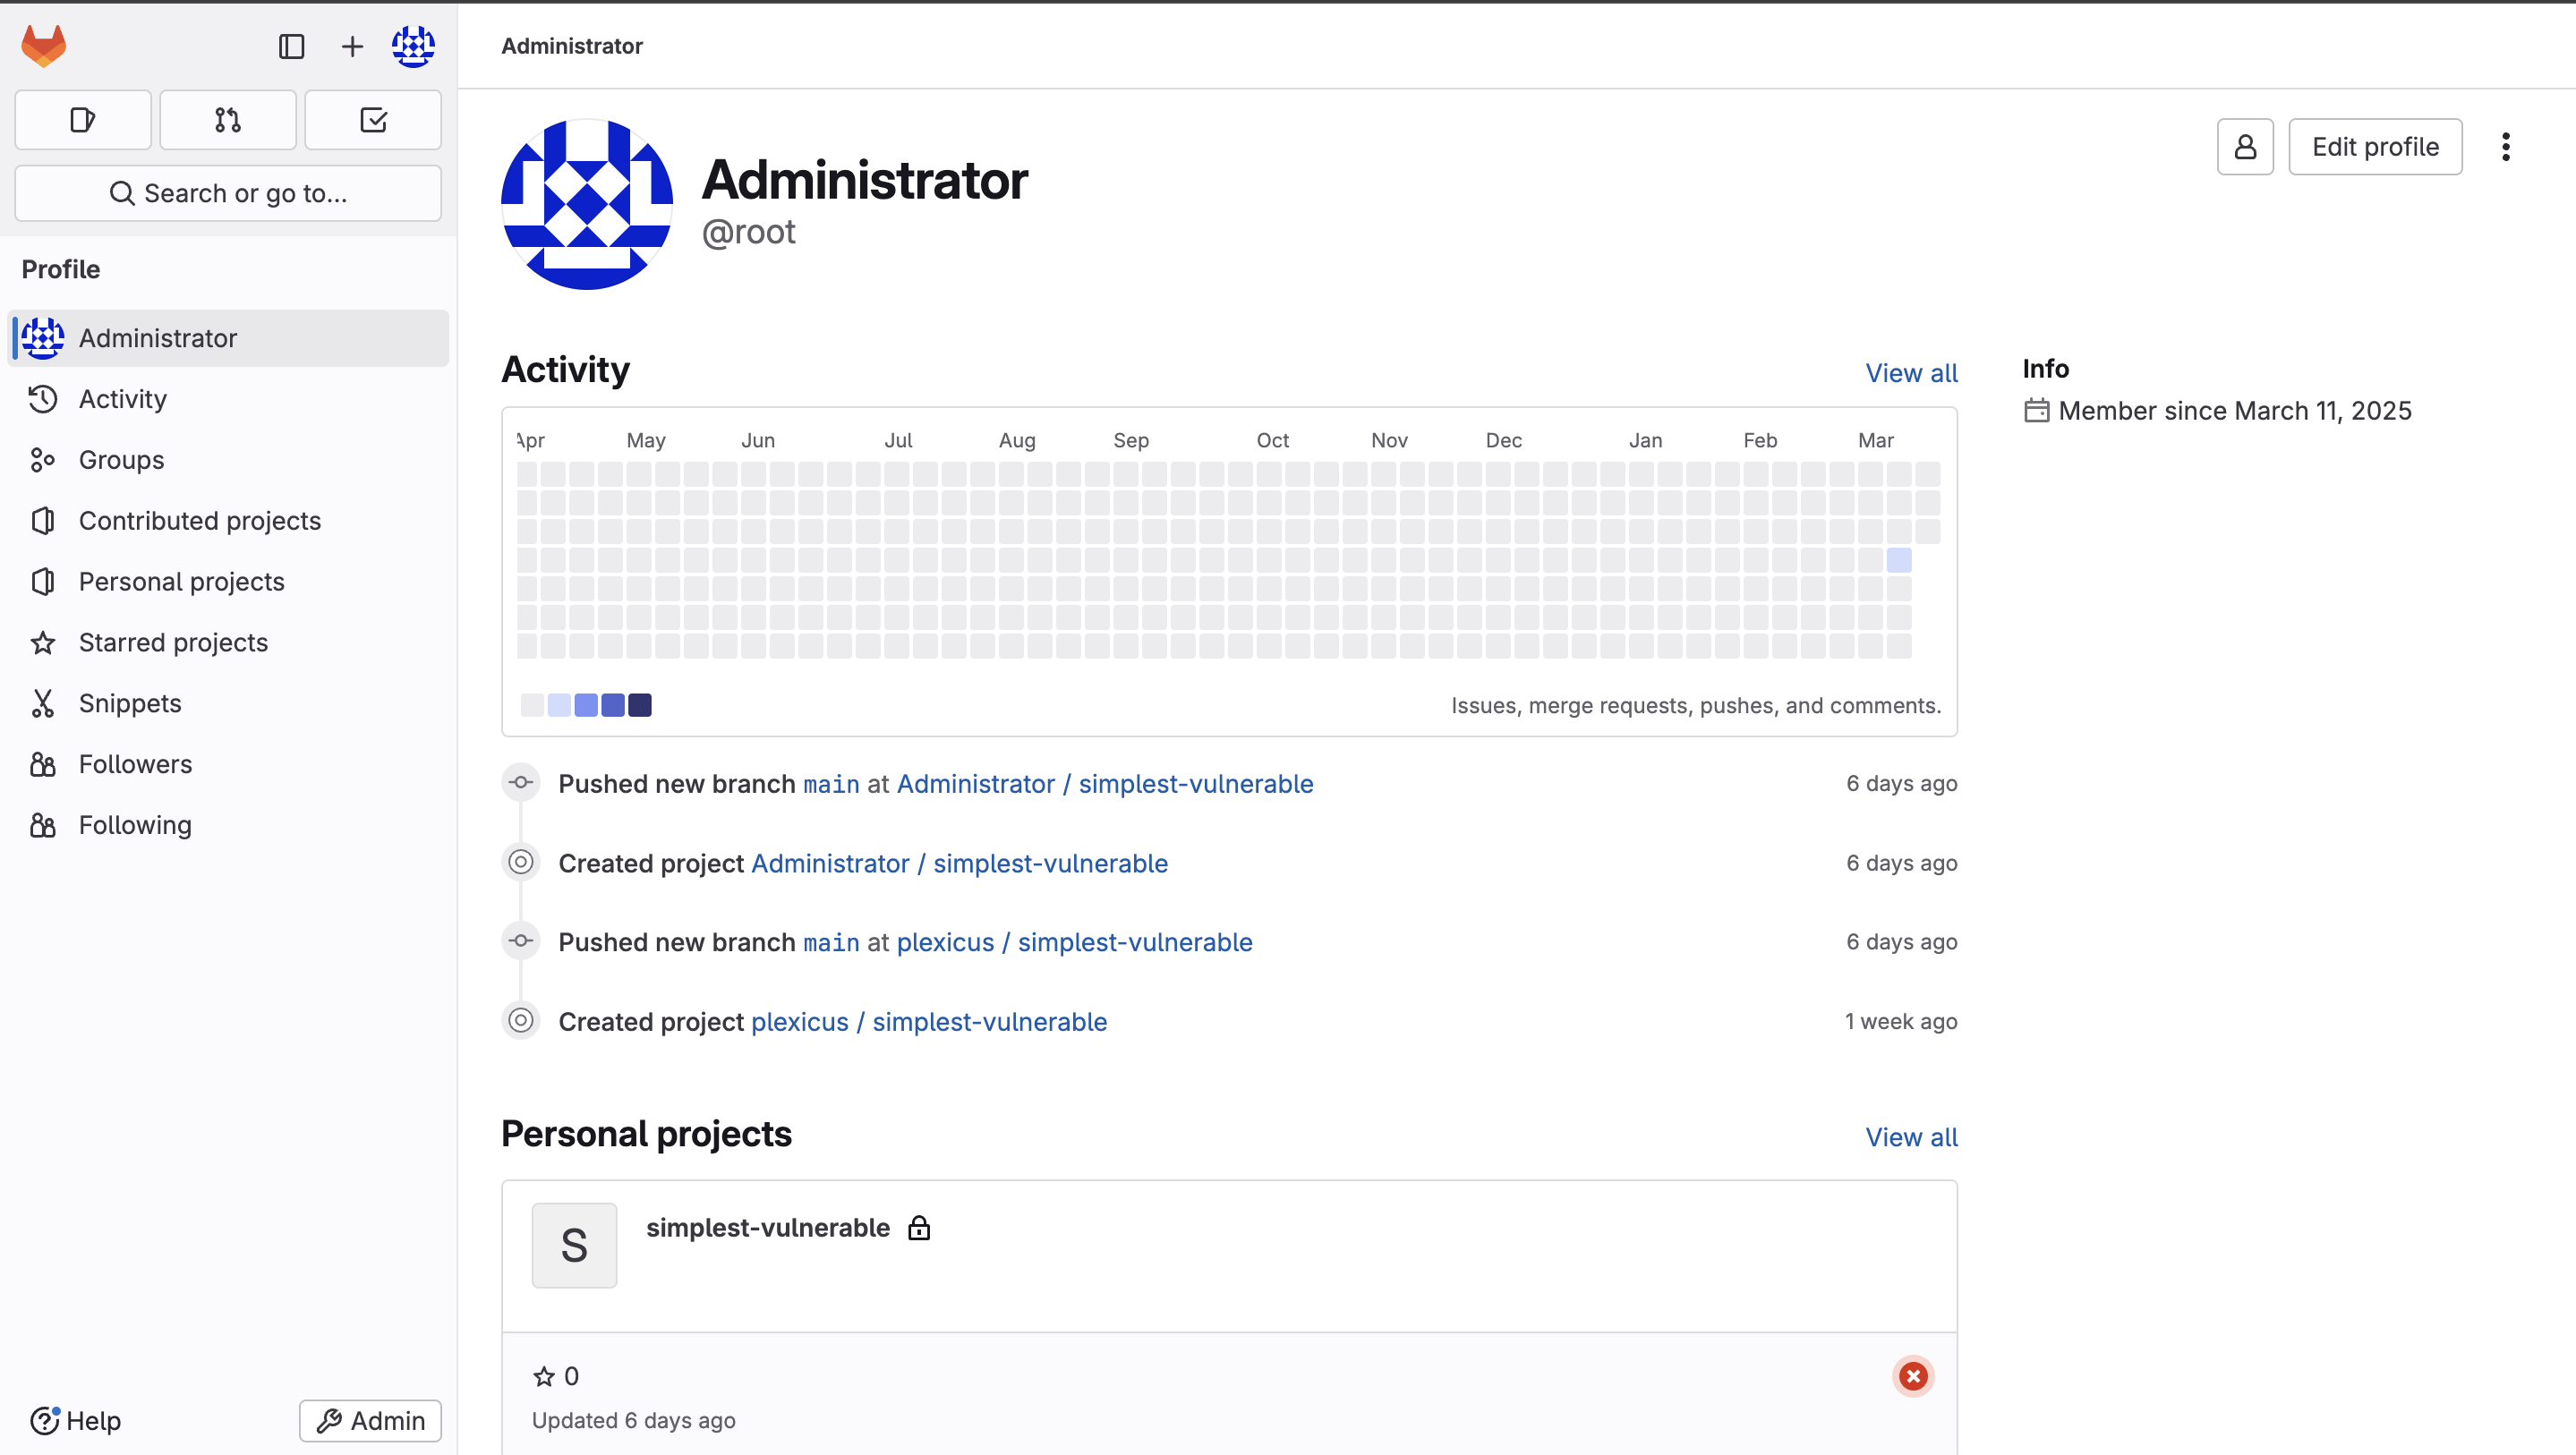
-
or go to User Settings → Applications (
/-/profile/applications) for user-specific tokens.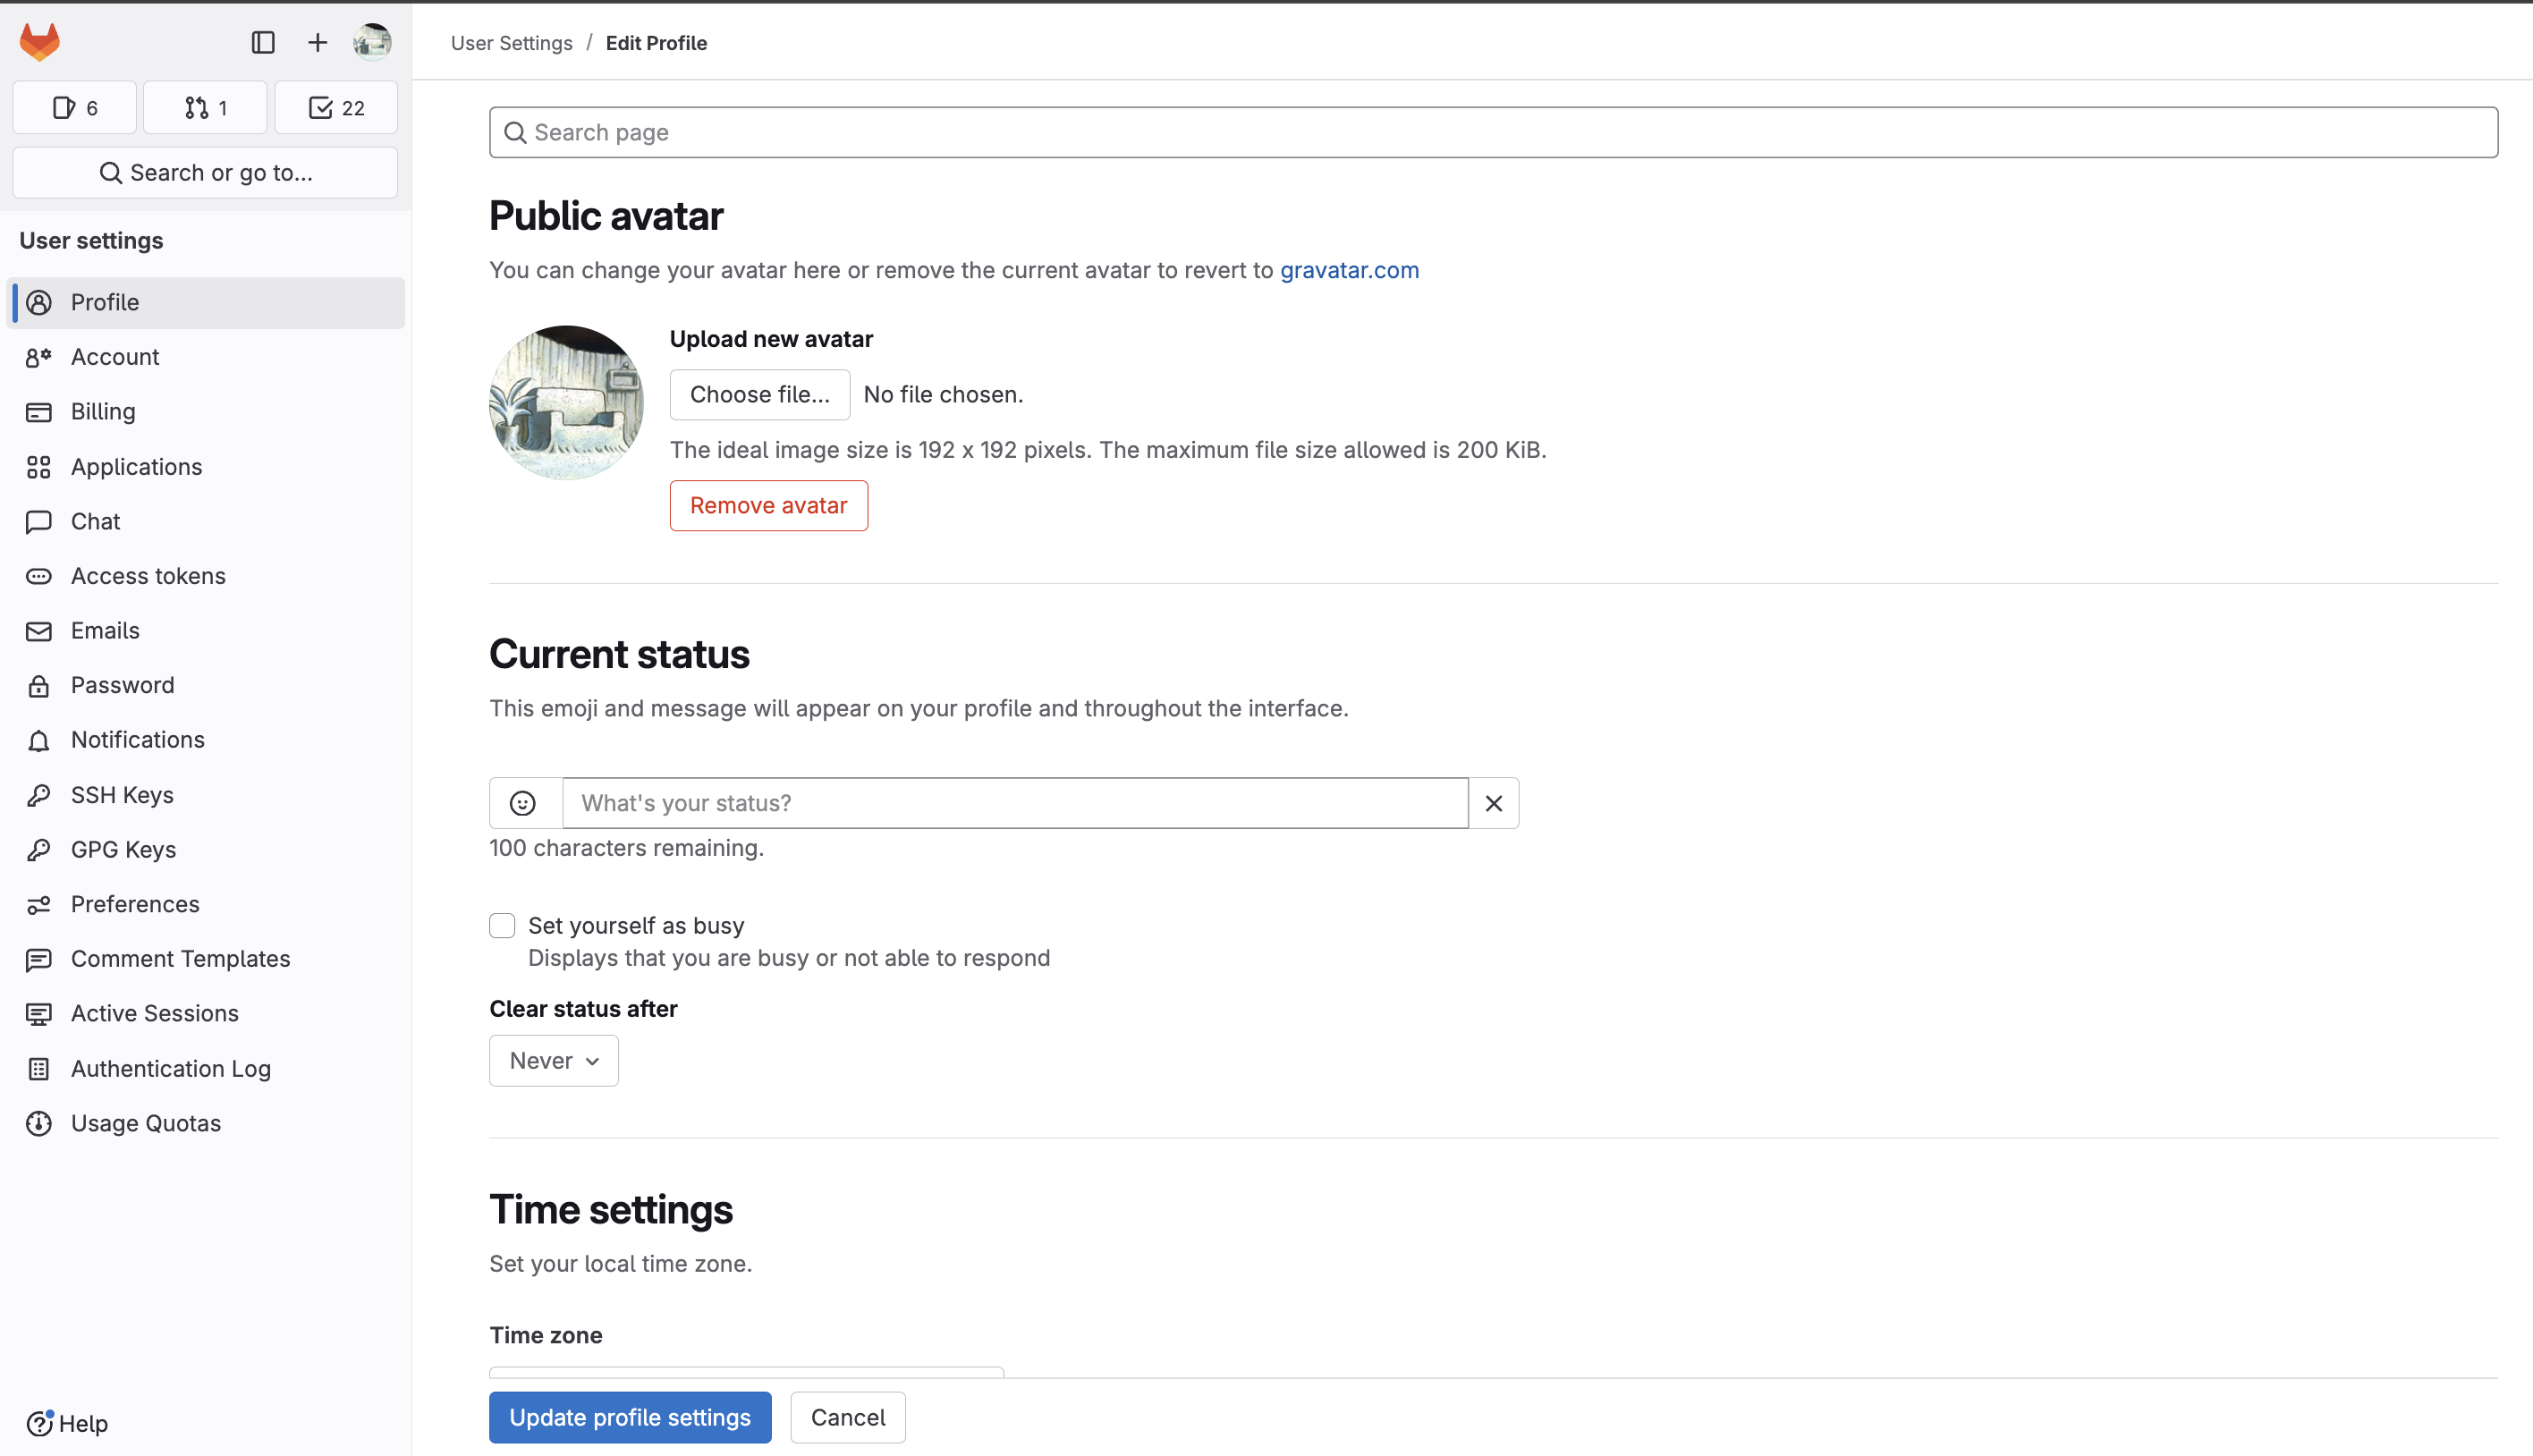
-
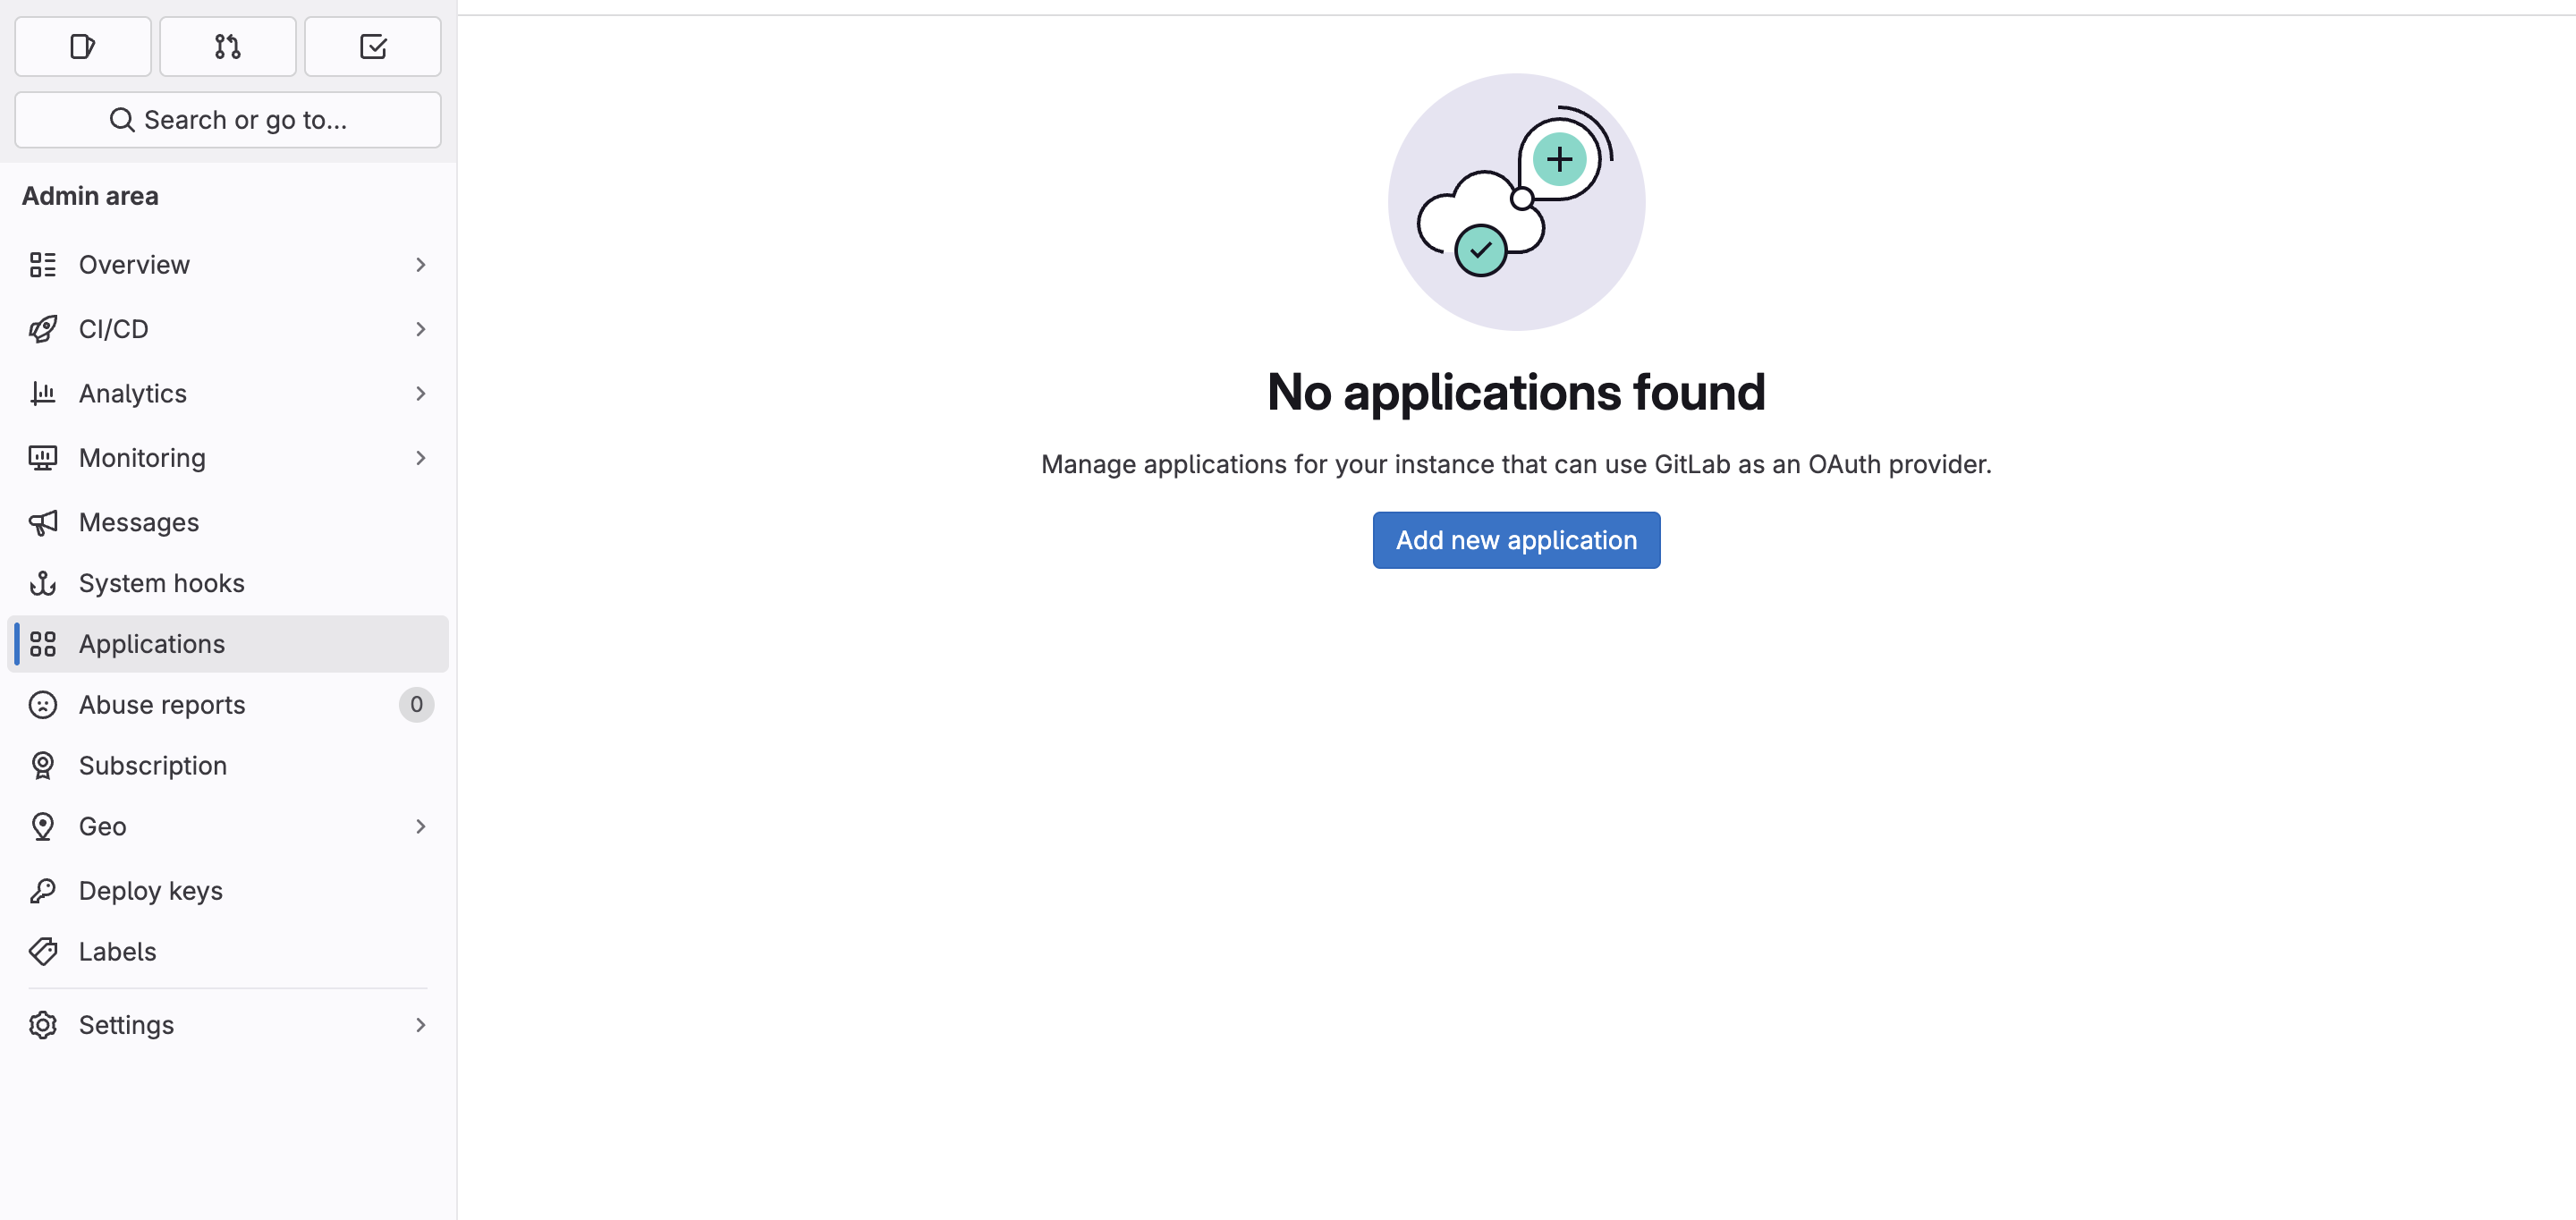
Click "New application".
-
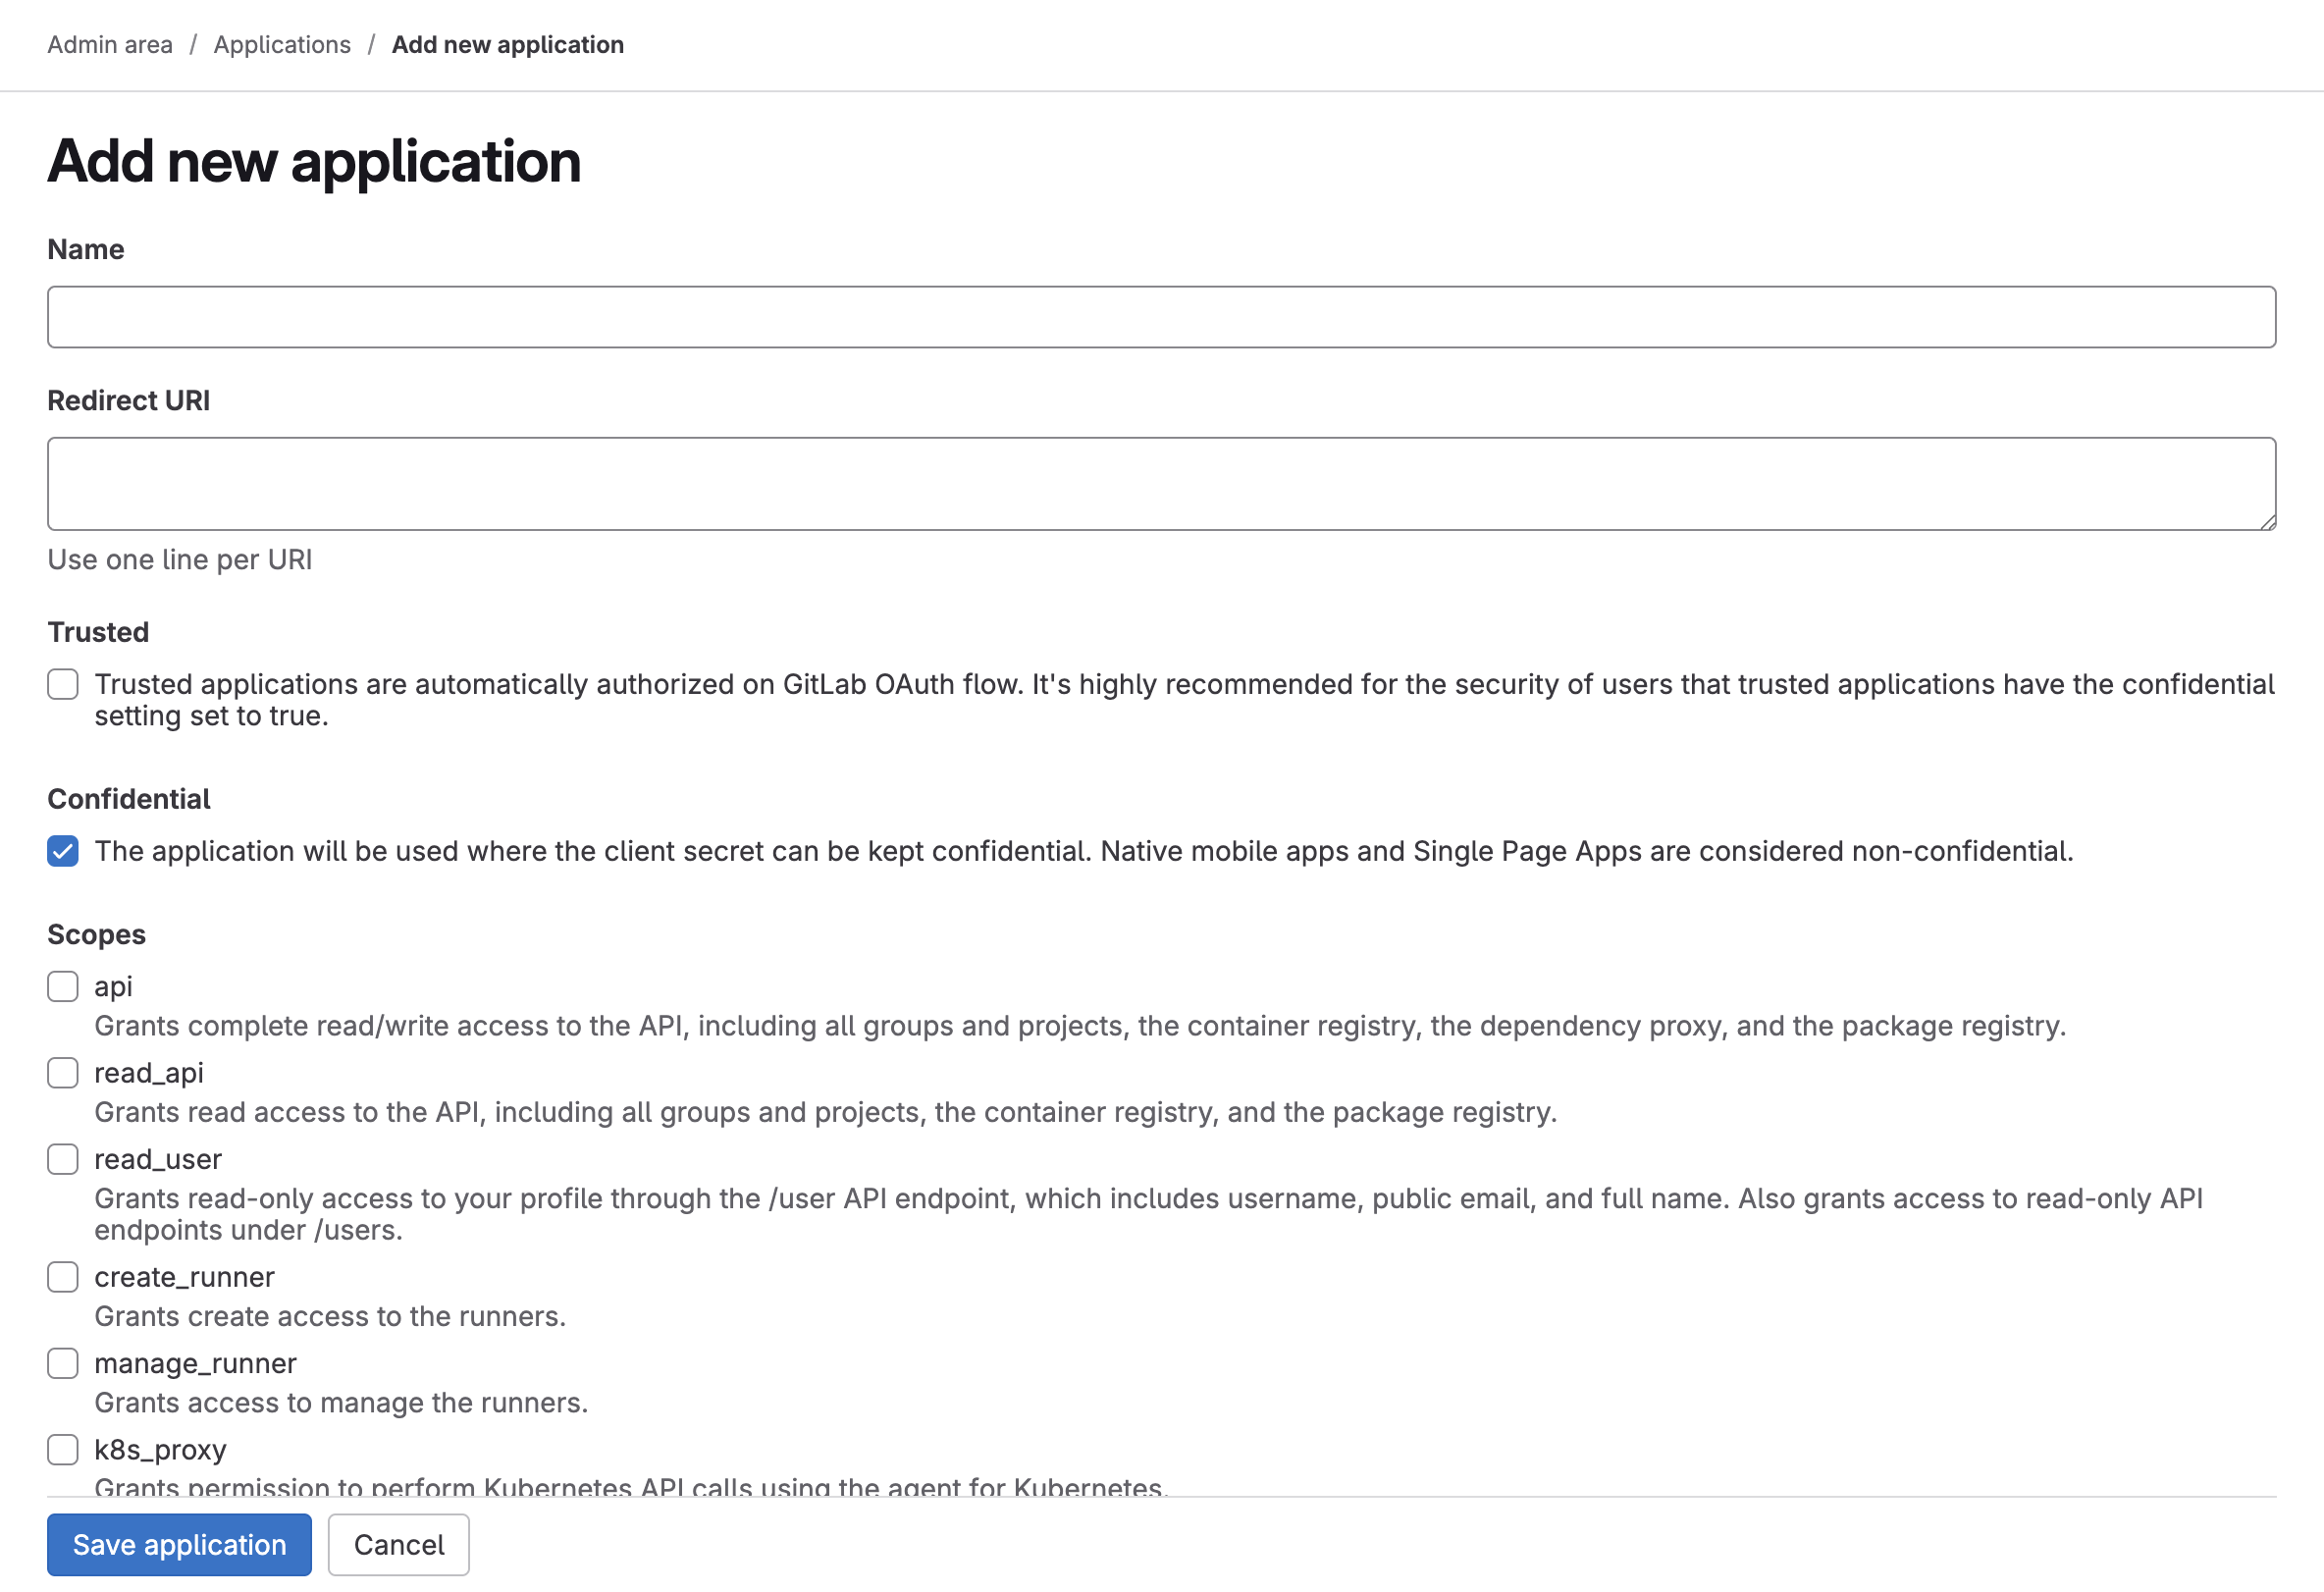
Fill in the required details:
-
Scopes: The following scopes are required for different areas:
read_api: For basic API access to GitLab endpointsread_user: For accessing user informationread_repository: For accessing repository data and branches, reading and accessing issueswrite_repository: For creating merge requests and managing webhooks, creating and managing issuesapi: For general API access to all repository endpoints, managing CI/CD variables and secrets. Creating, updating, and deleting webhooksopenid: Required for OpenID Connect authenticationprofile: Access to basic profile informationemail: Access to user email information
-
Trusted: Check this box for allowed Plexicus to use application credentials as a trusted first-party application.
-
Name: Enter a meaningful name for the application.
-
Redirect URI: the callback URL of your Plexicus deployment —
https://<your-plexicus-domain>/api/callback/gitlab.On Plexicus SaaS that is
https://app.plexicus.ai/api/callback/gitlab. On a self-hosted deployment substitute your own hostname: the value ofglobal.domainin your Helm overlay, orPLEXICUS_DOMAINon the evaluator — for examplehttps://plexicus.acme.com/api/callback/gitlaborhttps://plexicus.local/api/callback/gitlab. It is the hostname your users log in on, with noapi.prefix and no trailing slash. Getting this wrong is what producesinvalid_redirect_uriafter you click Authorize.
- Click "Save application".
2. Get Client ID and Client Secret
Ensure you select the required scopes (openid, profile, email,
read_api, read_user, read_repository, write_repository, api). We
follow the principle of least privilege and only request permissions that are
essential for Plexicus's functionality. These scopes provide the necessary
access for authentication and repository operations while maintaining
security.
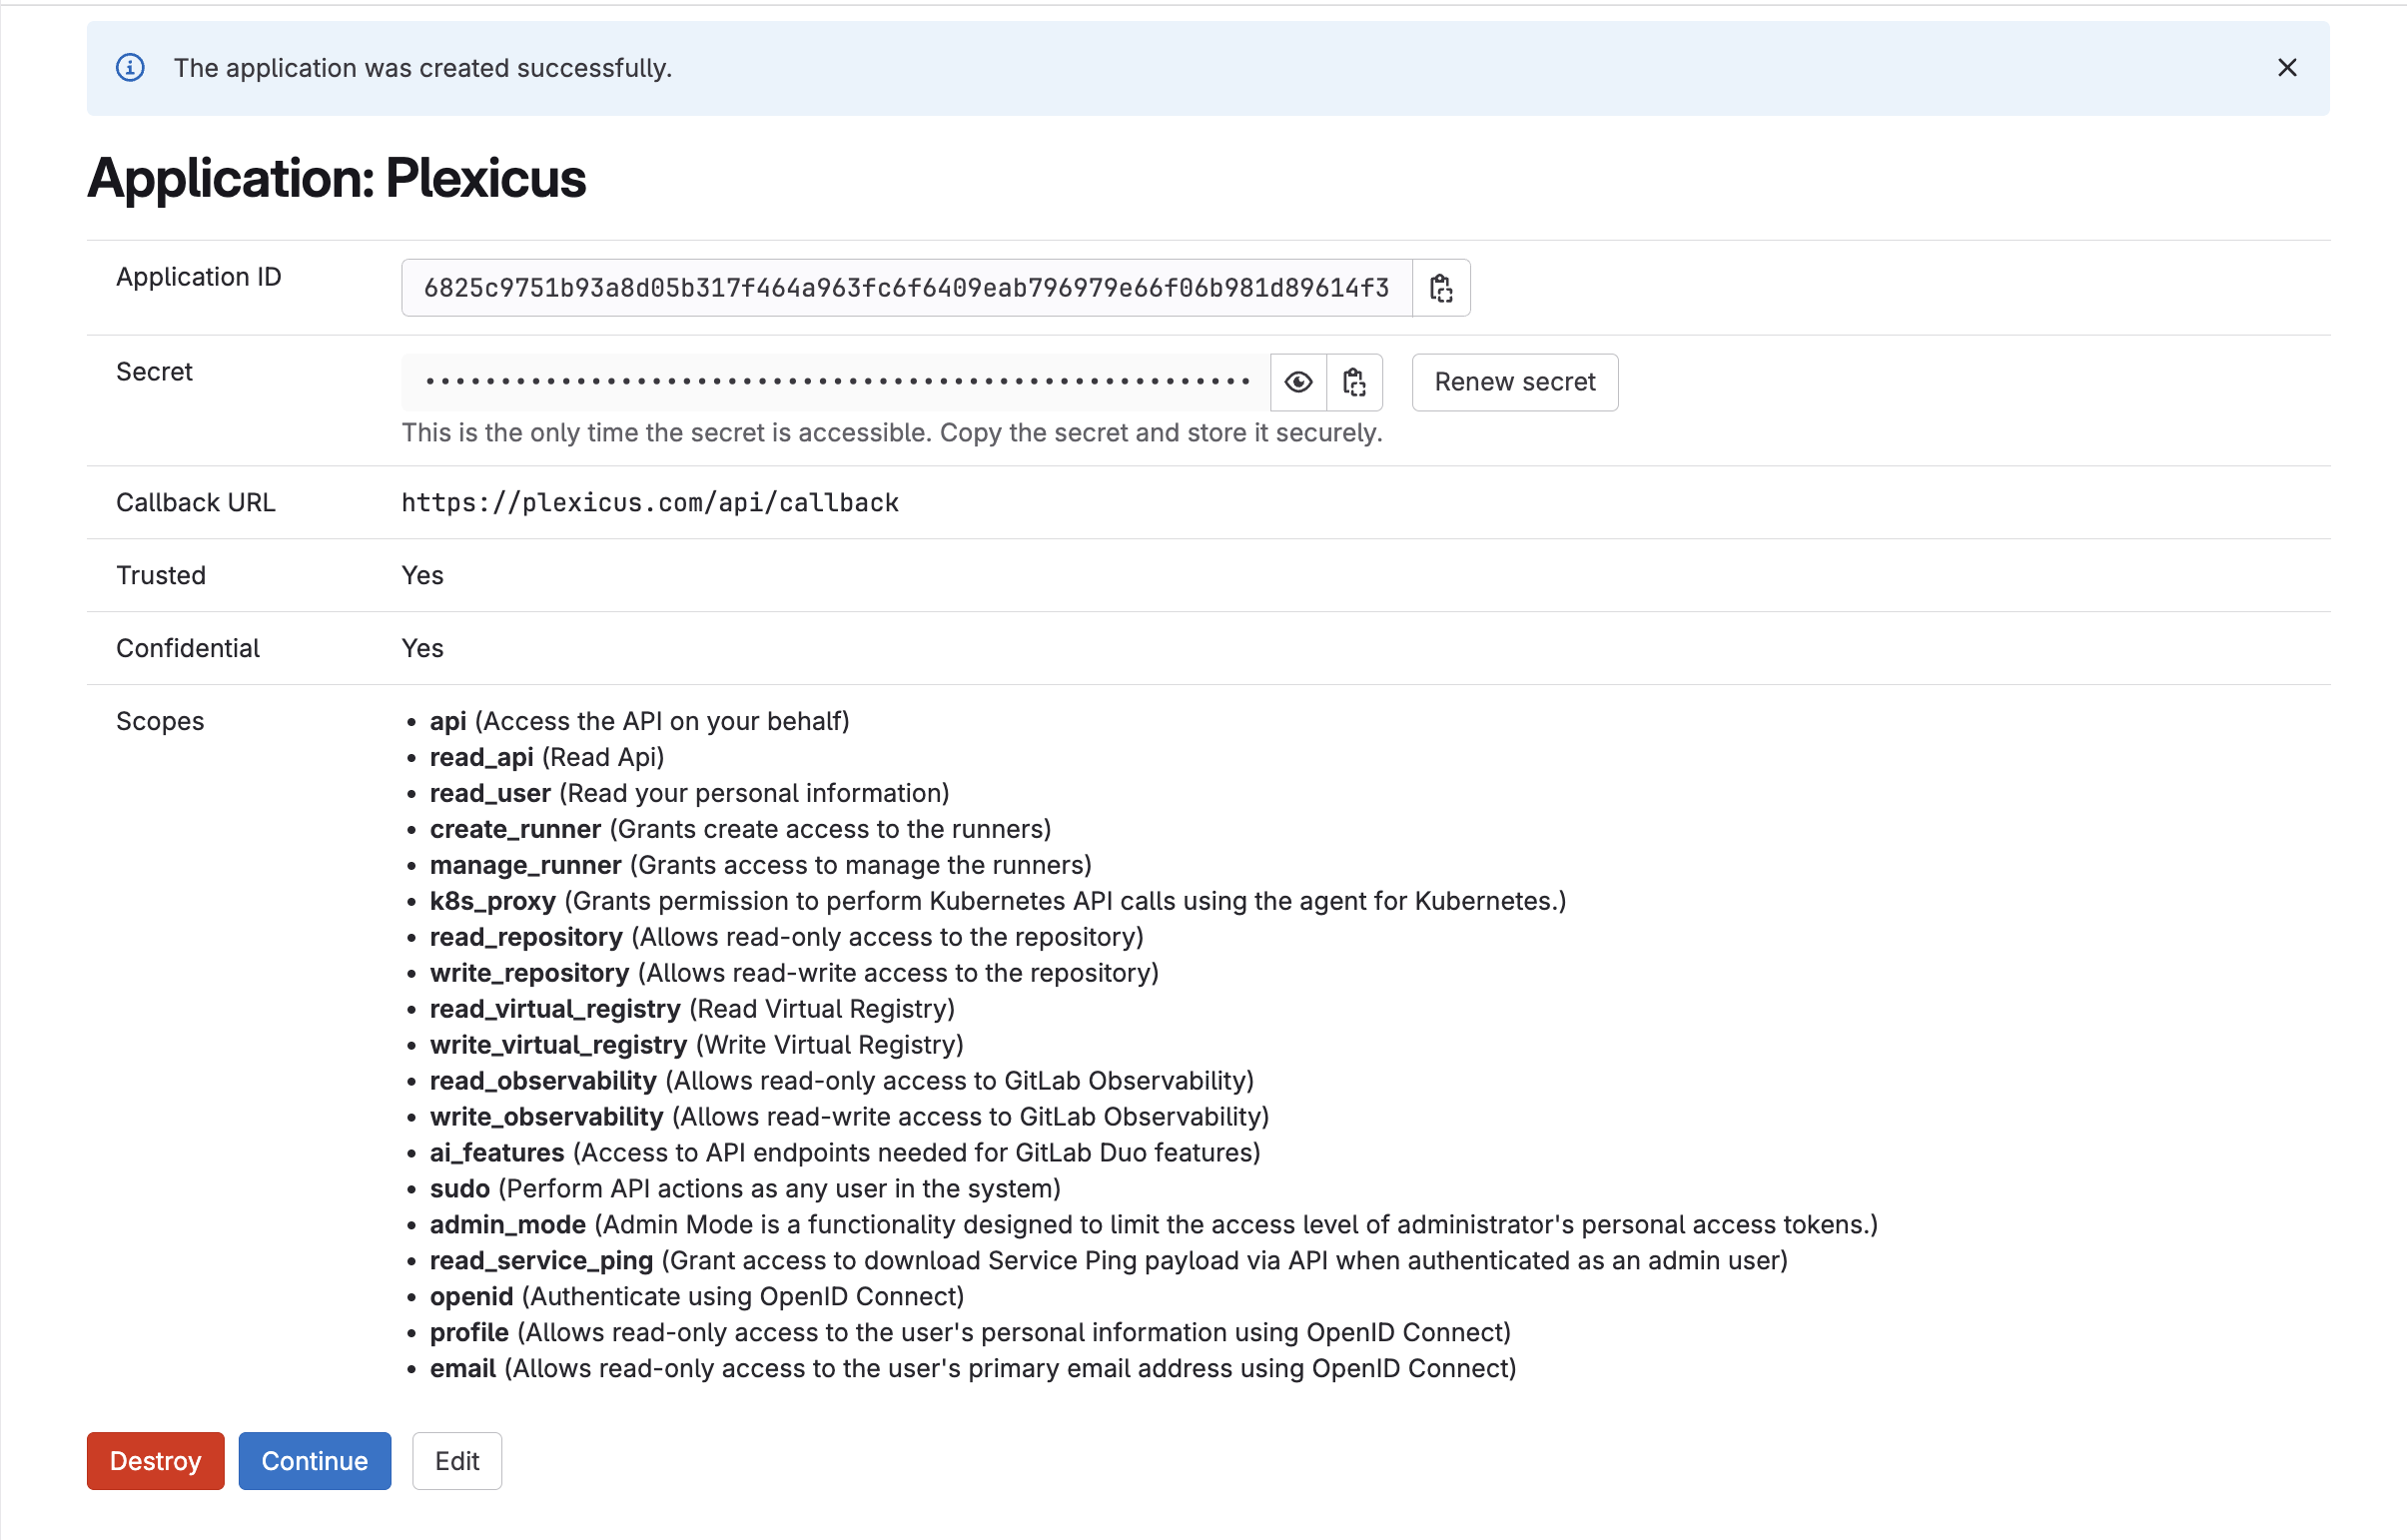
After saving the application, GitLab will generate:
- Application ID (Client ID): Used as the
client_id. - Secret (Client Secret): Used as the
client_secret.
Keep your Client Secret private and never expose it in public repositories or frontend applications.
3. Connect the Instance in Plexicus
A self-managed GitLab is connected per connection, inside Plexicus. It does not use the deployment-level GitLab credentials — the client id and secret you just generated are entered in the UI and stored against that one connection, so a single Plexicus deployment can serve gitlab.com and any number of self-managed instances at the same time. Nothing needs to be added to a Helm overlay or to the evaluator installer for this.
- In Plexicus, open Connectors and click the GitLab card in the SCM panel.
- Choose GitLab Self-Hosted (rather than GitLab.com).
- Fill in the three fields:
- Gitlab URL — the origin of your instance, e.g.
https://gitlab.acme.com. Scheme and host only; no path, no trailing slash. - Gitlab Client ID — the Application ID from step 2.
- Gitlab Client Secret — the Secret from step 2.
- Gitlab URL — the origin of your instance, e.g.
- Click Connect. Plexicus redirects your browser to
https://<your-gitlab-instance>/oauth/authorize, where you approve the requested scopes. - GitLab redirects back to
https://<your-plexicus-domain>/api/callback/gitlaband the connector card shows Connected.
Your GitLab instance must be reachable from the Plexicus cluster (for API and clone traffic) and from your browser (for the authorize step). The redirect in step 5 is followed by the browser, so a hostname that resolves only inside your network is fine for OAuth — but see Webhooks for what that means for push-triggered rescans.
Troubleshooting
invalid_redirect_uri immediately after clicking Connect
The Redirect URI on the GitLab application does not match your Plexicus
hostname. It must be exactly https://<your-plexicus-domain>/api/callback/gitlab
— same scheme, no api. prefix, no trailing slash.
Authorization succeeds but no repositories are listed
One or more scopes were not granted. Re-open the application in GitLab and confirm all eight are ticked; GitLab does not re-prompt for scopes added after the first authorization, so revoke the existing grant and reconnect.
Merge requests are never opened for remediations
write_repository and api are missing from the granted scopes.